Hiking Injuries That Could End Your Season (And How to Prevent Them)
Discover common Hiking Injuries that can ruin your season and learn effective strategies for injury prevention and improving body mechanics to hike safely.
Did you know that blisters make up nearly 30% of all trail-related issues? Even more surprising, over 60% of outdoor enthusiasts suffer from ankle sprains at least once. These common mishaps can quickly turn an adventure into a painful setback.

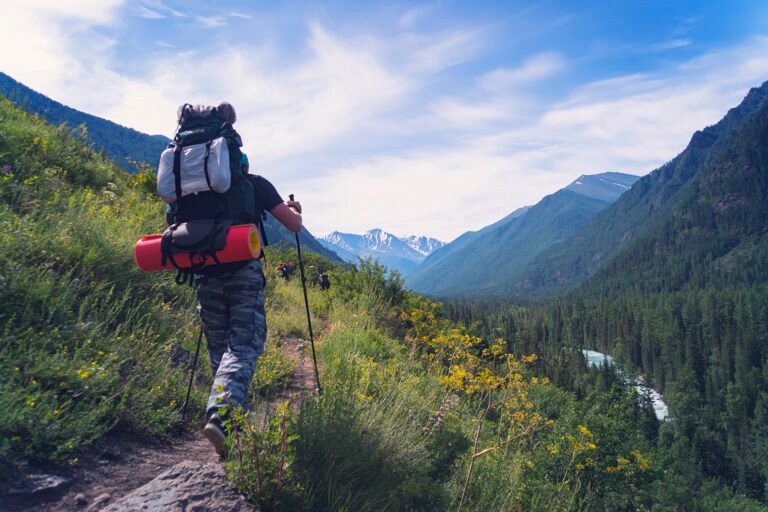
Fall hikes bring unique risks, from slippery leaves to sudden weather shifts. Understanding body mechanics and proper movement reduces strain on joints and muscles. Small adjustments in posture or footwear can prevent long-term damage.
Proactive injury prevention keeps you on the trail longer. Whether it’s choosing the right gear or pacing yourself, smart habits make all the difference. Don’t let a preventable issue cut your season short.
1. The Most Common Hiking Injuries You Should Know
Nothing ruins an outdoor adventure faster than preventable trail troubles. From friction burns to joint stress, understanding these risks keeps you moving forward.
Blisters: The Painful Friction Problem
Blisters form when moisture meets repeated rubbing. Hotspots often appear on heels or toes. Prevention starts with moisture-wicking socks and pre-taping trouble areas.
Pacific Crest Trail hikers cut blister rates by 60% using toe socks. Break in boots gradually—300–500 miles is their prime lifespan.
Sprained Ankles: A Trail’s Unpredictable Hazard
*78% of ankle sprains* happen on uneven ground. A misstep can twist ligaments, causing instant swelling. Shoes like Topo Ultraventure reduce reinjury risk by 40%.
Strengthen ankles with balance exercises. Choose footwear with stiff soles for rocky descents.
Knee Strains and Overuse Injuries
Downhill hikes strain the knee joints. Heavy packs worsen the pain. One in four hikers visits physical therapy for this issue.
Use trekking poles to distribute weight. Train quads and hamstrings to absorb impact.
Heat Exhaustion and Dehydration Risks
Dehydration triggers 15% of trail evacuations. Early signs include headaches and dark urine. Heatstroke escalates fast in humid climates.
Drink 1 liter per 2 hours in heat. Electrolyte tablets help retain fluids.
2. How to Prevent Hiking Injuries Before They Happen
Smart preparation can mean the difference between a great adventure and an early exit. Focus on gear, hydration, and emergency supplies to stay safe.
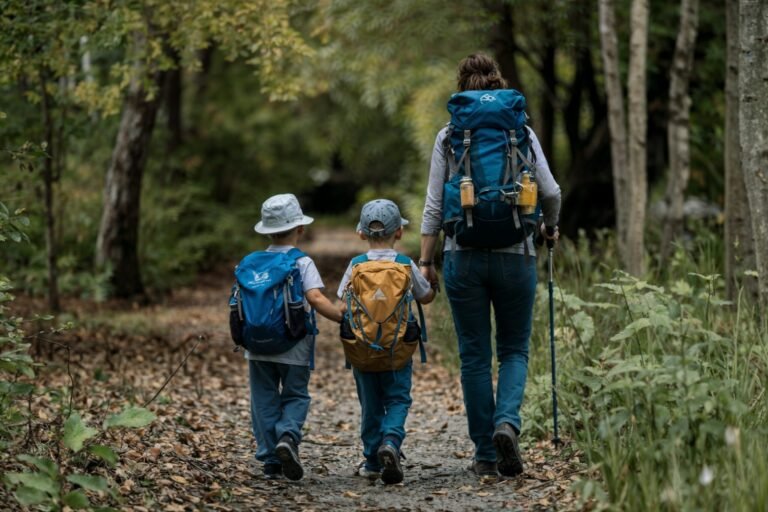
Choosing the Right Footwear and Socks
Ill-fitting footwear causes 40% of trail issues. Follow the 1.5x thumb rule: leave space at the toes to prevent swelling. Brands like Oboz and Salomon offer traction patterns tested on rugged terrain.
Pair hiking boots with moisture-wicking socks. A two-layer system (liner + cushion) reduces friction. Break in new boots gradually to avoid hotspots.
The Importance of Proper Hydration
Dehydration triggers fatigue and cramps. Drink 1 liter of water every 2 hours in heat. Add electrolytes (500mg sodium + 200mg potassium per liter) for long treks.
| Hydration System | Best For | Capacity |
|---|---|---|
| Bladder | Steady sipping | 2–3 liters |
| Bottles | Quick access | 1 liter each |
Packing a Well-Stocked First Aid Kit
A first aid kit should include:
- Leukotape P for blisters
- Steri-Strips for cuts
- Benzoin tincture for adhesion
Check Wilderness Medical Society guidelines for remote trips. Add a whistle or mirror for emergencies.
3. The Role of Body Mechanics in Avoiding Hiking Injuries
Your movement patterns dictate trail safety more than you might realize. Proper body mechanics reduce joint strain and optimize energy use. Small adjustments in posture or stride can prevent long-term damage.
Proper Posture and Balance on Uneven Terrain
Maintain ear-shoulder-hip alignment during ascents. Leaning too far forward strains the lower back. On descents, bend knees slightly to absorb impact.
- Rock gardens: Widen your stance for stability.
- Switchbacks: Short steps reduce pressure on knees.
- Balance drills: Practice on a wobble board to strengthen ankles.
Using Trekking Poles for Stability
Poles cut knee impact by 25% on downhill activity. Black Diamond’s flick-lock system adjusts faster than Leki’s twist-lock for rapid terrain changes.
“Nordic walking techniques transfer 20% more weight to your upper body, easing leg fatigue.”
How to Lift and Carry Your Backpack Correctly
Load heavy items between shoulder blades. A hipbelt should carry 80% of the weight to reduce spinal compression. Osprey’s Atmos pack disperses load better than Hyperlite’s ultralight design.
Lift with legs, not your back. Tighten straps incrementally to avoid uneven pressure.
4. Essential Gear to Minimize Hiking Injuries
The right equipment can make or break your outdoor experience. Quality gear reduces strain on your body and prevents common trail issues. From footwear to poles, every choice impacts your comfort and safety.

Hiking Boots vs. Trail Shoes: What’s Best for You?
Footwear is your first line of defense against trail troubles. High-cut boots offer ankle support on rocky terrain, while lightweight shoes provide agility. Zero-drop designs increase Achilles tendon loading by 18%, so consider your foot type.
Pressure mapping shows La Sportiva boots distribute weight better than Brooks for steep descents. Midsole compression rates vary—replace shoes every 300–500 miles for optimal cushioning.
| Type | Best For | Ankle Support |
|---|---|---|
| Boots | Heavy loads, rough terrain | High (prevents twists) |
| Trail Shoes | Speed, dry conditions | Low (more flexibility) |
The Benefits of Moisture-Wicking Clothing
Fabric choice matters more than you think. Merino wool blends cut fungal infections by 63% compared to synthetics. UPF-rated clothing blocks harmful rays, preventing sun-related injuries.
Key features to look for:
- Antimicrobial treatments for multi-day trips
- Flatlock seams to reduce chafing
- Ventilation zones for temperature control
Why Trekking Poles Are a Game-Changer
Carbon fiber poles absorb 30% more shock than aluminum models. They transfer weight to your arms, easing knee strain on descents. The Gossamer Gear LT5 outperforms REI’s version in load transfer tests.
“Poles reduce joint impact by 25% and improve balance on unstable surfaces.”
Adjustable poles adapt to terrain changes. Use them correctly—plant the pole at a 45-degree angle for maximum stability.
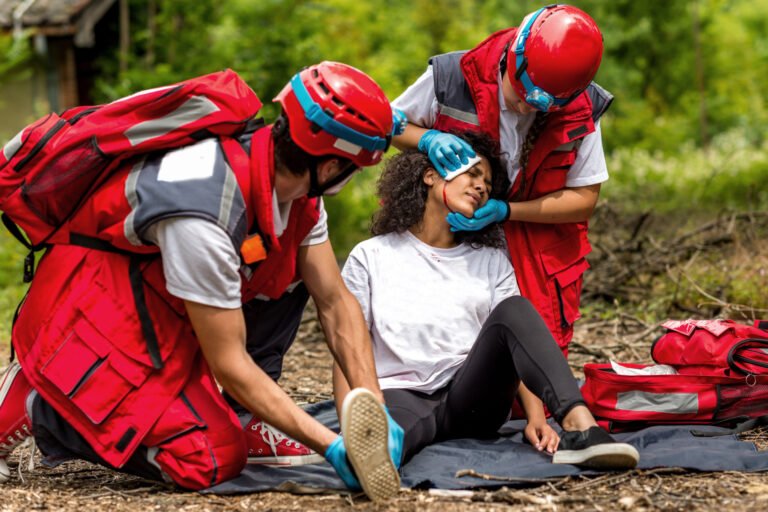
5. Recognizing and Treating Hiking Injuries on the Trail
Quick action makes all the difference when trouble strikes on the trail. Minor issues can escalate without proper first aid, but the right steps keep you safe until help arrives.
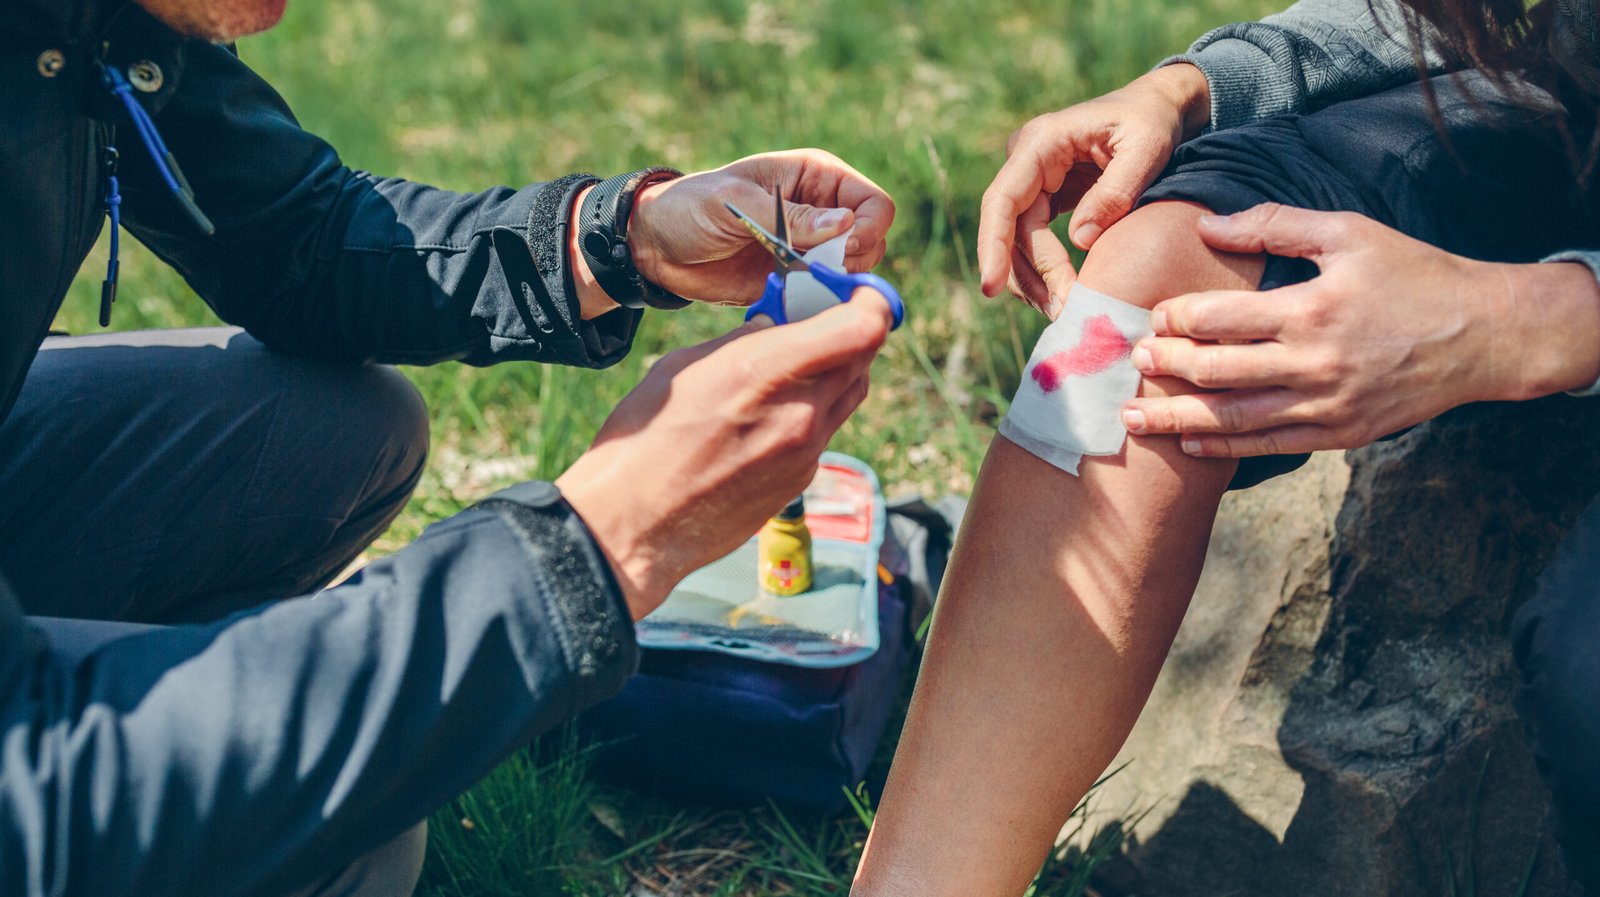
First Aid for Blisters and Cuts
Clean the area with antiseptic wipes before draining blisters. Use a sterile 18g needle to puncture the edge, then apply hydrogel dressings to speed healing.
For cuts, close wounds with Steri-Strips if sutures aren’t available. Monitor for redness or swelling—signs of infection per CDC wilderness guidelines.
RICE Method for Sprains and Strains
Rest, ice, compression, and elevation (RICE) reduce swelling in sprained ankle cases. In remote areas, improvise with snow gloves as ice packs.
| Standard RICE | Wilderness Adaptations |
|---|---|
| Ice for 20 mins/hour | Use cold streams or snow packs |
| Compression bandages | Wrap with elastic trekking pole straps |
| Elevate above heart | Prop legs on a backpack |
When to Seek Professional Medical Help
Abort the trip if you see:
- Neurological deficits (numbness, confusion)
- Compound fractures or uncontrolled bleeding
- Pain worsening despite NSAIDs
Satellite messengers like Garmin inReach expedite evacuations. When in doubt, err on the side of caution.
6. Training and Conditioning to Avoid Hiking Injuries
Proper preparation transforms your body into a trail-ready machine. Smart conditioning builds resilience, letting you tackle longer distances with confidence. Focused training reduces strain and keeps you moving smoothly.
Pre-Hike Stretches and Warm-Ups
Dynamic stretches boost blood flow before hitting the trail. Try leg swings and torso twists to activate key muscle groups. Yoga poses like downward dog improve flexibility by 27% on uneven terrain.
Effective warm-up routine:
- 5-minute brisk walk to elevate heart rate
- Ankle circles to improve joint mobility
- Standing quad stretches for downhill stability
Building Endurance for Long-Distance Hikes
Gradual progression prevents overuse issues. Start with short hikes and increase distance by 10% weekly. Cross-training with cycling cuts injury risk by 23% while maintaining cardio fitness.
| Training Phase | Focus Area | Duration |
|---|---|---|
| Base Building | Low-intensity walks | 4-6 weeks |
| Strength Phase | Weighted step-ups (+35% endurance) | 3 weeks |
| Peak Period | Backpack-loaded hikes | 2 weeks |
Strengthening Key Muscle Groups for Hiking
Targeted exercises prevent common trail issues. Eccentric calf raises slash Achilles injuries by 52%. Glute activation drills improve descent control by 40% – crucial for rocky paths.
Essential strength moves:
- Single-leg deadlifts for balance
- Resistance band walks for hip stability
- Balance pod drills for foot strength
For detailed workout plans, explore our guide on building hiking-specific skills. Consistency matters more than intensity – aim for 3 weekly sessions.
7. Hike Smart and Stay Safe All Season Long
Smart trail habits extend your outdoor season while keeping risk low. Studies show a 22% drop in issues with consistent injury prevention plans. Start with an annual gear check—worn soles or frayed straps increase hazards.
Monitor weather patterns and trail reports before heading out. Digital tools like Gaia GPS provide real-time updates. Group hikes boost safety; establish protocols for emergencies.
Balance activity with adequate rest. Progressive training prevents overuse strains. Pack a satellite communicator for remote areas—emergency preparedness raises survival odds by 68%.
Follow Leave No Trace principles to minimize environmental risk. Small, proactive adjustments ensure more miles and fewer setbacks.